

Moving or Remodeling? How to Store a Washing Machine Without Damaging It
A washing machine is one of those appliances that needs more preparation than simply unplugging it and moving it out of the laundry room. Water can remain in the hoses and pump, and the internal components need to be protected while the machine is being transported. A few careful steps before moving day can prevent problems when you're ready to install the washer again.
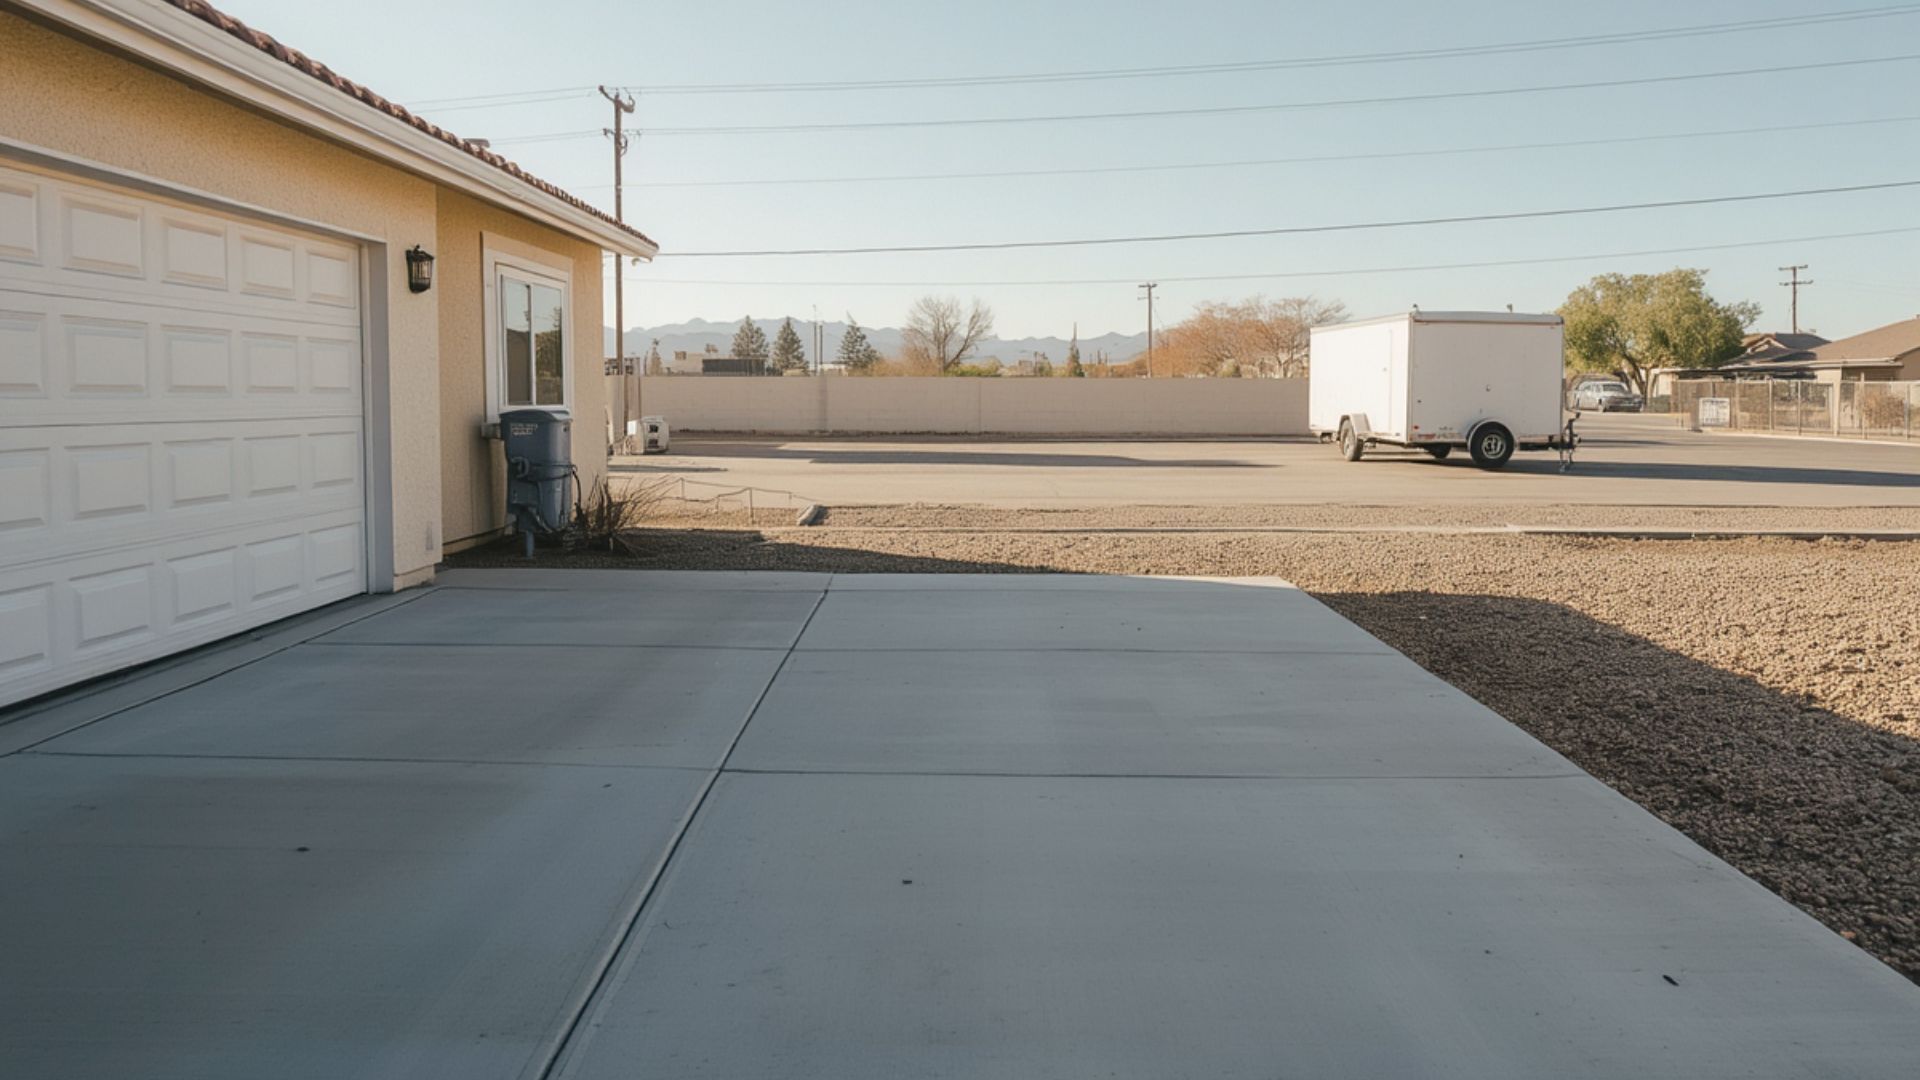
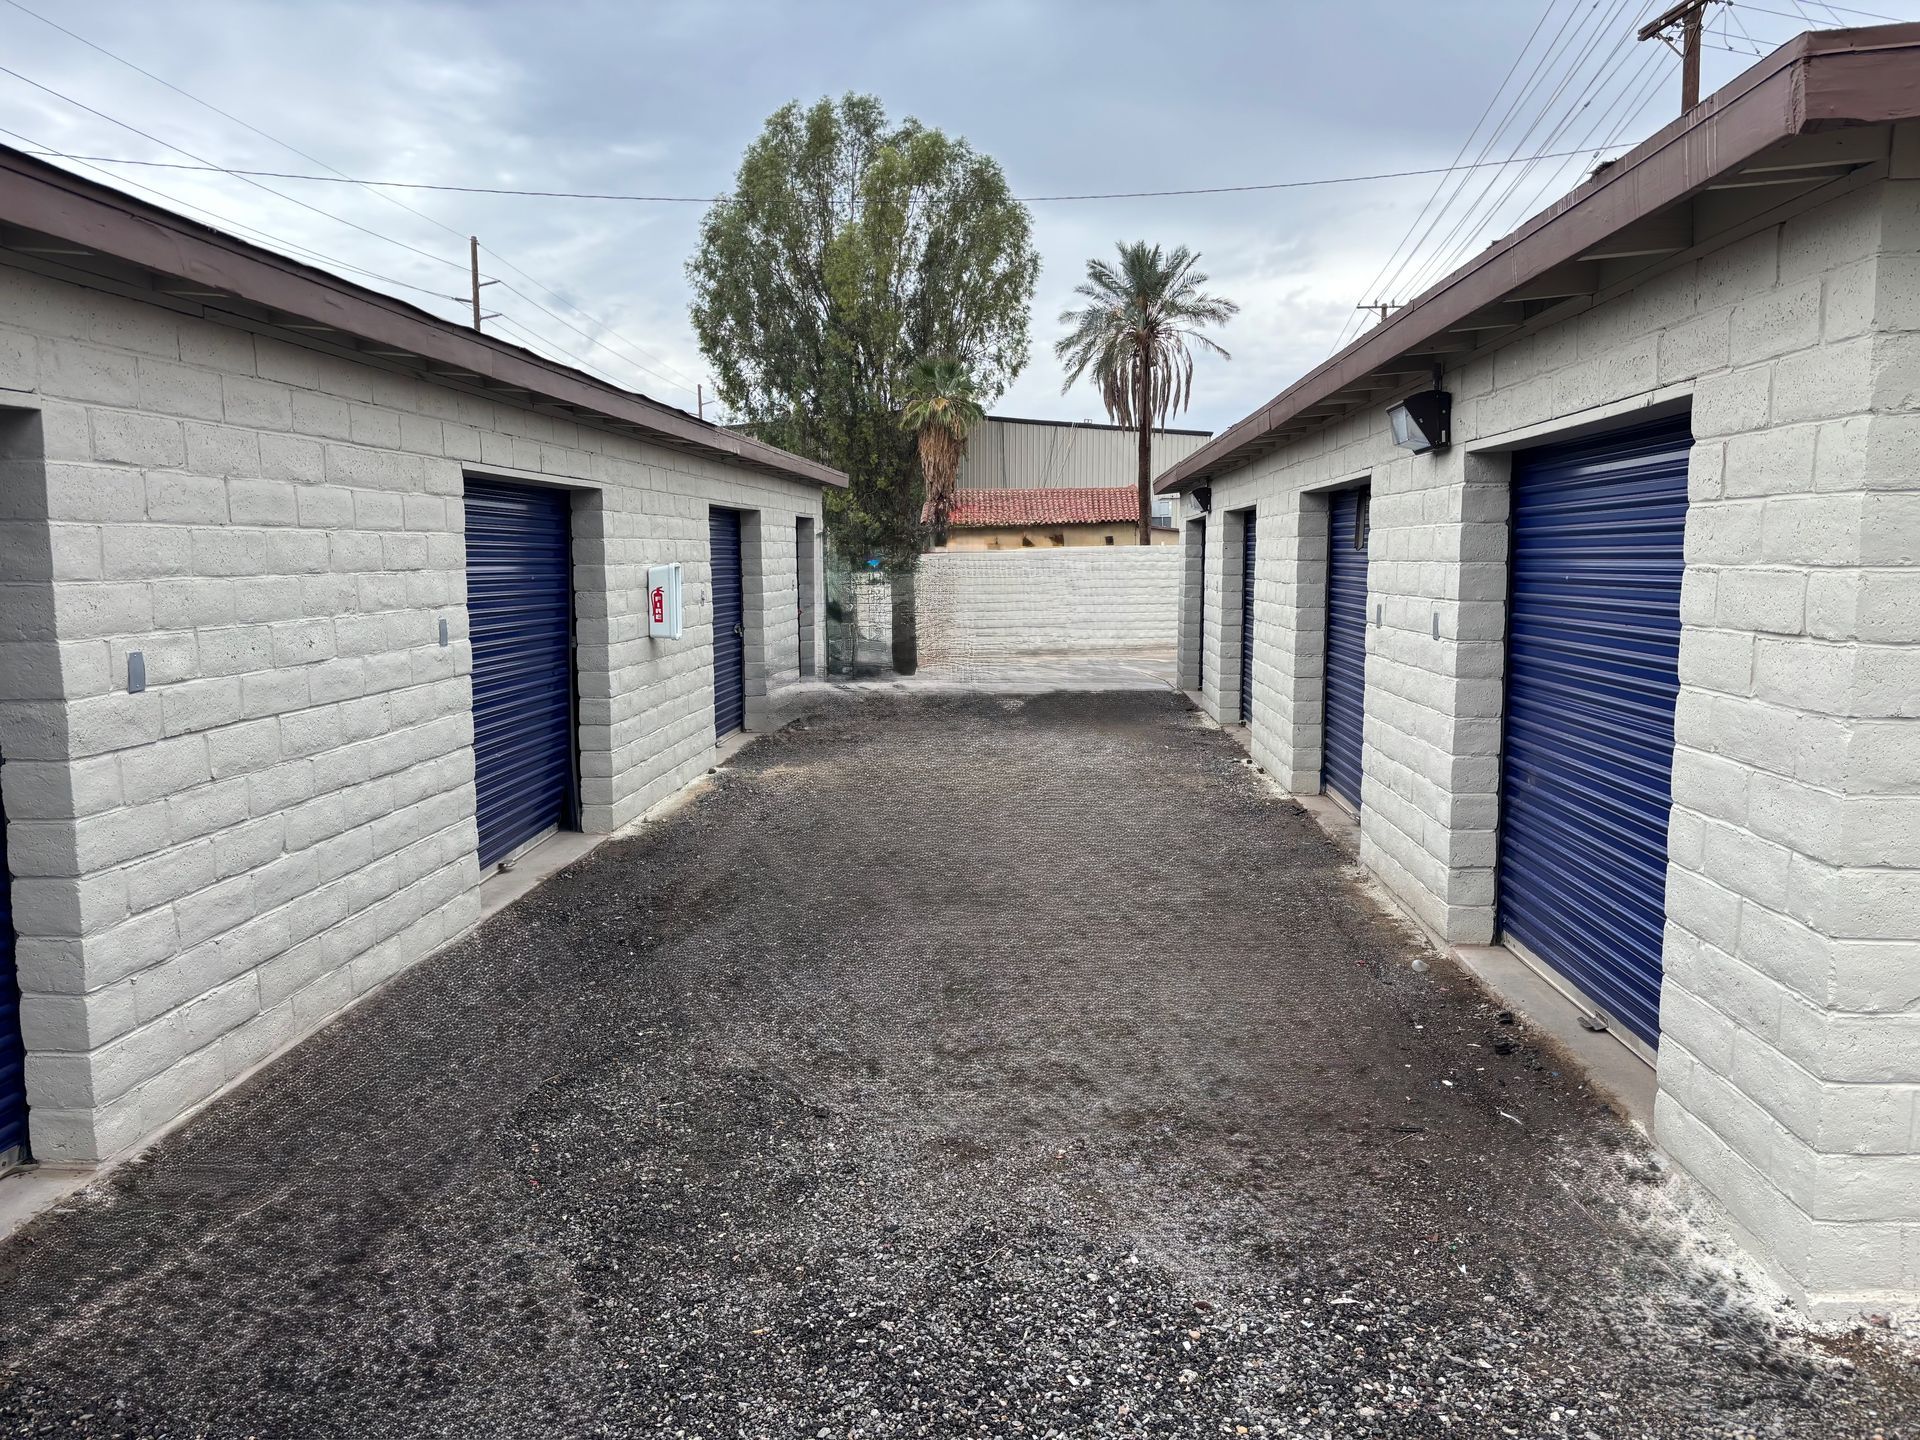
If a move or remodel has temporarily left you without room for a large appliance, our storage options in Brawley include drive-up units that can accommodate household items and major appliances. Our property is at 897 K Street, with access from Highway 86 and Main Street, so you can bring the washer directly to your unit rather than carrying it through an interior hallway.
Start With Your Washer's Manual
Before disconnecting anything, find the owner's manual or installation instructions for your exact washing machine. The basic preparation process is similar across many models, but the manufacturer's instructions should determine how you secure the drum, drain the machine, and prepare it for relocation. This matters particularly with front-load washers. Whirlpool instructs owners to use transport bolts when relocating certain front-load machines because the bolts stabilize the washer's support and suspension system. GE also directs owners of its front-load washers to reinstall the appropriate shipping bolts, spacers, and clamps before moving.
Don't assume that transport hardware from another washer will work. Requirements differ by model, and some manufacturers specify replacement rather than reused bolts. If you've lost the original hardware, check the model number and manufacturer instructions before buying or installing replacements.
Clean the Washer Before Storage
Give the washer a normal cleaning before disconnecting it. Remove any clothing, detergent residue, or debris from the drum and dispenser areas, then let the interior dry. You're preparing an appliance that won't be running for a while, so you don't want to close it up with moisture or residue still inside.
Pay attention to areas where water collects, including the detergent dispenser and the seal around the door on a front-load machine. Follow the manufacturer's cleaning instructions rather than experimenting with cleaners that aren't recommended for your particular model. Once the washer is clean, leave enough time for the interior to dry before moving it. Packing the appliance immediately after its last load makes it harder for residual moisture to escape.
Shut Off the Water and Disconnect the Washer
Turn off both the hot and cold water supplies before removing the inlet hoses. Unplug the power cord as well. Keep a bucket and towels nearby because disconnecting a washer doesn't mean every part of the system is already dry. Carefully remove the inlet hoses and allow the remaining water to drain into the bucket. Disconnect the drain hose according to the washer's instructions and empty that too. Whirlpool's moving guidance specifically calls for shutting off the water, draining the inlet hoses, disconnecting the drain hose, and unplugging the machine before relocation.
Some front-load models require an additional step to drain water from the pump. GE, for example, tells owners of its front-load washers to drain the pump through the pump filter before moving the appliance. This is another reason to consult the instructions for your model instead of treating every washer the same way.
Keep the Hoses and Small Parts Together
Once the inlet and drain hoses are empty, keep them with the appliance so they're easy to find after your move or remodel. Whirlpool's instructions for several models recommend placing drained hoses inside the washer drum or basket and securing the power cord so it doesn't drag during transport. If you've removed small fittings or model-specific hardware, put those pieces in a labeled bag rather than leaving them loose inside the unit. Keep the owner's manual or installation instructions with them. When the washer comes back out of storage, you won't have to search through boxes for the parts needed to reconnect it.
It's also worth inspecting the hoses before storing them. Storage doesn't correct a worn hose, cracked fitting, or damaged connector. If something already needs replacement, make a note so it isn't forgotten when the washer is reinstalled.
Secure the Drum Before Moving a Front-Load Washer
The drum is one of the main reasons a front-load washer needs careful preparation. Its suspension is designed for normal washing cycles, not for bouncing around unrestrained in a moving truck. For models that require them, the correct shipping or transport bolts hold the tub and basket in position during relocation. Whirlpool notes that moving a front-load washer without the required transport bolts can result in internal suspension or structural damage. The company also recommends professional installation of new transport bolts for applicable models.
Top-load washers aren't necessarily prepared in the same way. GE's moving guidance for top-load and unitized models refers to reinstalling the appropriate shipping rod or shipping material when available. Follow the procedure for the specific washer rather than applying front-load instructions to a top-load machine.
Move the Washer Upright
Keep the washing machine upright during transport unless its manufacturer explicitly instructs otherwise. Both Whirlpool and GE state that applicable washers should be transported upright to protect the tub, suspension, and other internal components. A washer is also heavy and awkward to handle. Whirlpool's installation materials specify using two or more people when moving or installing an appliance, while its moving guidance recommends equipment such as a dolly or moving straps. Don't rely on the door, control panel, hoses, or other projecting parts as handholds.
Protect the exterior from contact with doorframes, the moving vehicle, and other stored belongings. A moving blanket or similar protective covering can provide a barrier around the cabinet, but don't use the covering as a substitute for properly securing the appliance during transport.
Give the Washer a Stable Spot in Your Storage Unit
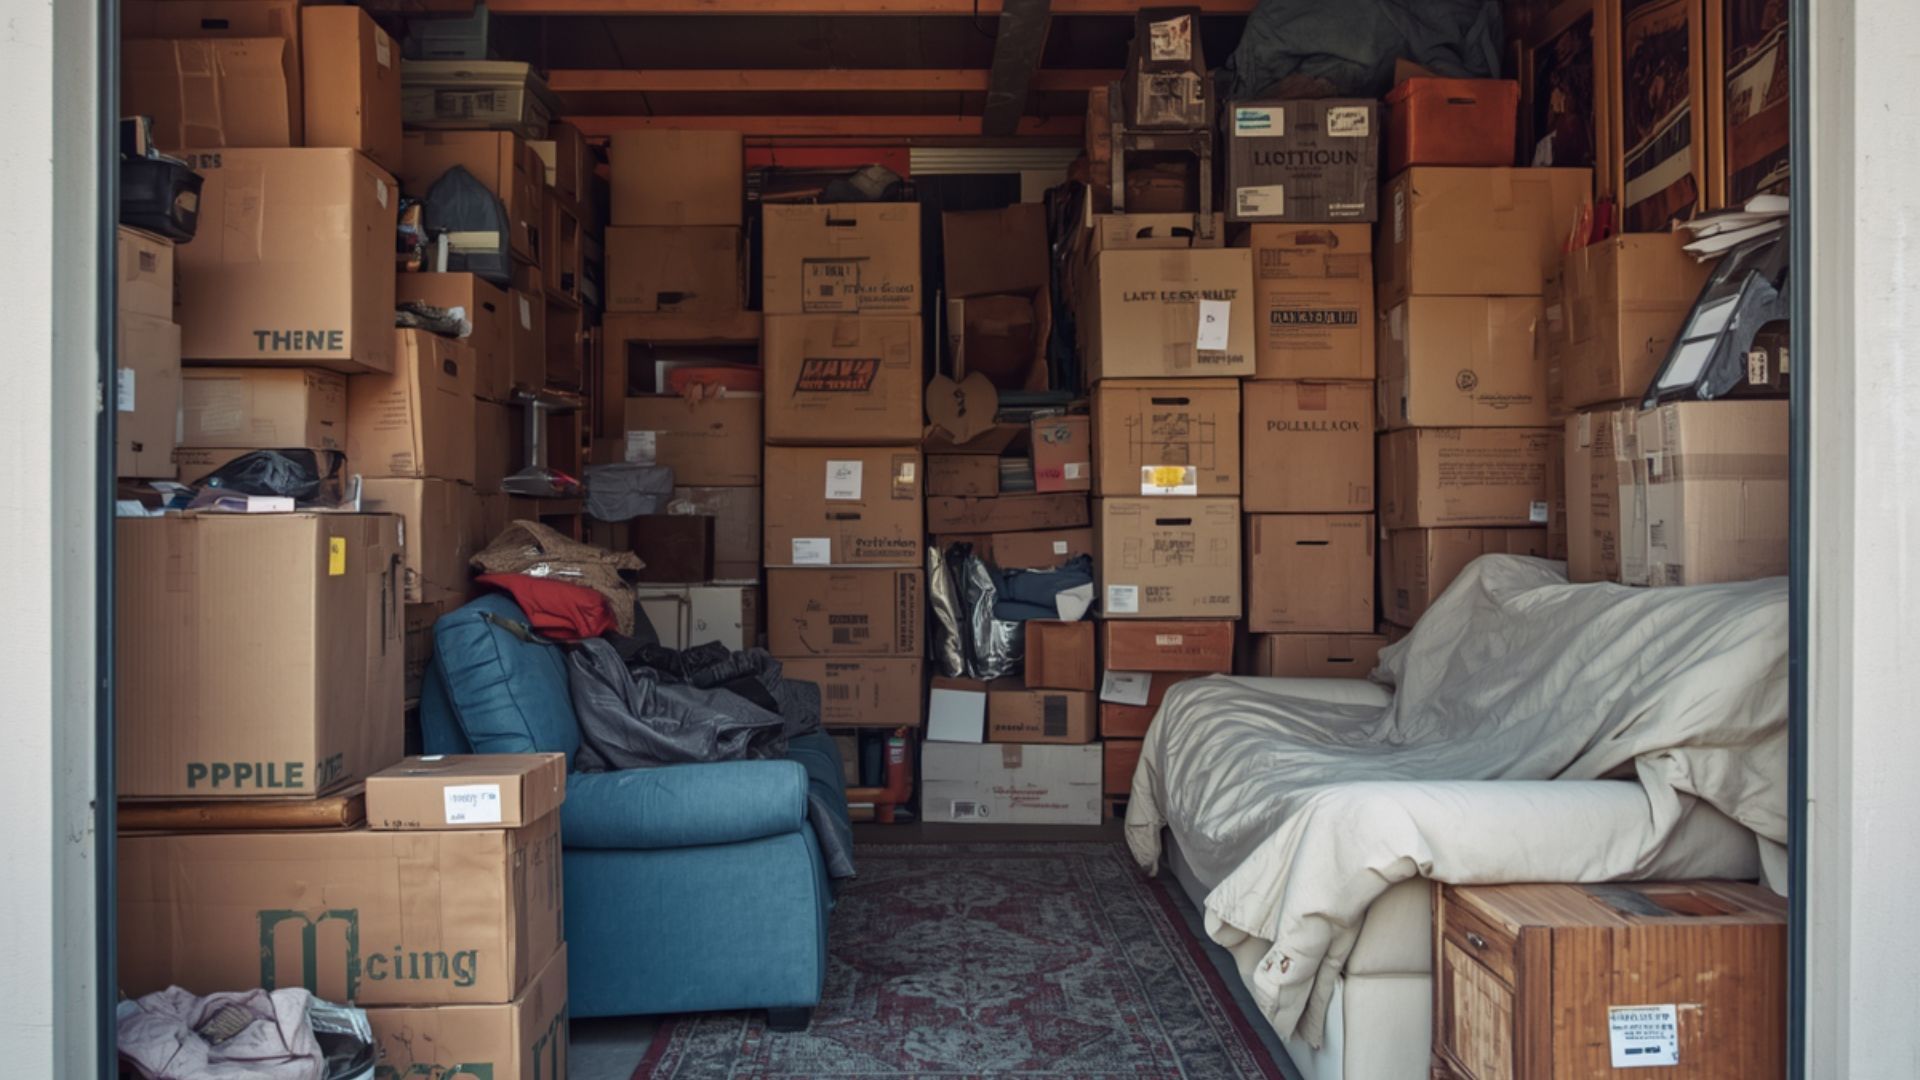
Once you reach the storage unit, place the washer upright on a stable, level surface. Avoid stacking boxes or other belongings on top of it. Heavy objects can damage the cabinet, while loose items placed around the machine can shift and make it difficult to retrieve later. At our Brawley property, every unit has drive-up access, so you can park directly in front of your space while unloading. That's particularly useful for a washing machine because it reduces how far you have to maneuver a heavy appliance after taking it out of the moving vehicle. Our size guide also identifies washers and dryers among the major appliances suited to some of our larger unit sizes.
If the washer is going into the unit along with furniture and moving boxes, decide where it belongs before filling the space. Keep a clear route to anything you'll need during the remodel. Our guide to getting more from your storage space is useful when you're organizing a larger household load rather than storing the washer by itself.
Don't Seal Moisture Inside
One of the most important storage steps happens before the washer reaches the unit: get as much residual water out as the manufacturer instructs and allow the appliance to dry. Don't wrap a damp machine tightly in plastic. A breathable protective covering is a better choice for keeping ordinary dust off the exterior once the machine is dry. Make sure the covering doesn't put pressure on controls, hinges, or hoses.
If you're preparing several household belongings at once, it's easy to rush the washer because it doesn't go into a box. Give it its own preparation time. Our article on common first-time storage rental mistakes is also worth reviewing before you load the rest of the unit.
Bringing the Washer Back Into Service
When the remodel is finished, or you're ready to move into your new home, don't plug the washer in and immediately start a load. Remove any transport hardware according to the manufacturer's instructions, reconnect the drain and water lines correctly, and make sure the machine is level. Check the hoses and connections for problems before running the washer. Whirlpool instructs owners to flush the water pipes and hoses, reconnect the inlet hoses, restore the water supply and power, and run a cleaning cycle after certain periods of non-use or moving. The exact procedure varies, so your washer's manual remains the best reference for putting your model back into service.
Shipping bolts deserve particular attention. They're intended to protect compatible front-load washers during transportation, not during operation. Whirlpool warns that leaving them installed when the washer is running can cause excessive vibration, noise, and damage.
Make Room for the Project Without Sacrificing the Washer
A renovation can leave a laundry room inaccessible for weeks, while a move may put you between homes before there's a place to reconnect your appliances. Either way, the safest approach is to prepare the washing machine for relocation according to its manufacturer, drain it carefully, keep it upright, and store its parts together.
Our drive-up units at 897 K Street are available in several sizes, including larger spaces intended for household moves and major appliances. If you're deciding where the washer and the rest of your belongings will fit during the project, you can explore
storage options from Brawley Self Storage and compare the current choices with what you need to store.